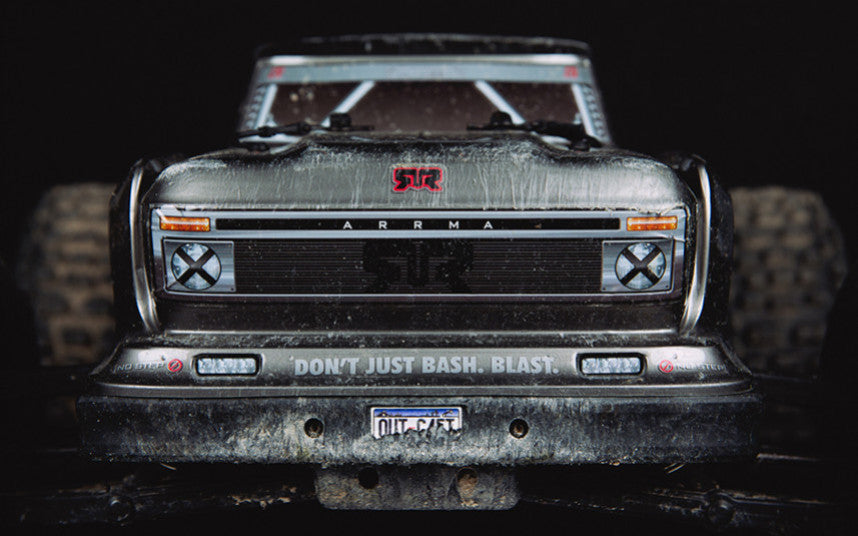
Why and when should I clean my RC car?
There are many advantages to keeping your radio-controlled car clean. Not only will it look good, but it will also last longer. Cleaning is also an opportunity to inspect your vehicle from all angles for loose or missing screws, cracks in parts, and to check the wiring.
To keep your car in good condition, it is therefore important to clean it after each race. When driving in difficult conditions (mud, snow, or dirt), we recommend cleaning it thoroughly. This article covers both basic and thorough cleaning.
What equipment do you need?
Thorough cleaning of the vehicle sometimes requires the removal of certain parts. It is therefore necessary to have a model maker's toolbox: Allen keys, screwdrivers, wheel wrench, etc. In addition, you will need all the specialized tools and products required for cleaning the car:
- A portable air compressor (optional)
- A wide brush and a fine brush
- Cleaning brushes
- A microfiber cloth
- A clean cloth
- Specialized products
Tutorial for light cleaning of the car (after each race)
After each race, dust and dirt can stick to the bodywork and get underneath it. If you don't remove it, it can build up and negatively impact the performance of your RC car. If you've been driving on grass, dry dirt, or concrete, a quick blast of air from a compressor is enough to remove dust from the exterior of the vehicle. If you don't have this tool, use bristle brushes and brush gently.
If your car is wet, dab it with a towel and let it dry. Do not use water or cleaning products that could damage the electronic components. In the next chapter, we will return to the topic of deep cleaning your RC car, which should be done from time to time or after a serious off-road race.
Tutorial for deep cleaning your car
Step 1: Cleaning the tires
Excess mud on the wheels and tires can cause them to become unbalanced and vibrate. You should therefore remove all four wheels, apply a cleaning product, leave it to work for a minute, then brush the tires thoroughly to clean them properly.
Step 2: Cleaning the chassis
Cleaning the chassis always starts with removing the batteries. For convenience and even more thorough cleaning, certain parts, such as the engine, can be removed. The dirt must then be removed using an air compressor, a microfiber cloth, and a brush. For stubborn stains, you can apply a cleaning product, but be sure to avoid electronic components. Finally, you can grease the metal parts with a lubricant. Cleaning with water is only possible when the electronic components are waterproof. Be sure to dry the car thoroughly to prevent rust.
Step 3: Cleaning and polishing the body
The body is the protective shell of your RC cars. It takes the brunt of the impact and can quickly become damaged. You can rinse it with cold water and then clean it with hot water and a cleaning product. Rinse and let the body dry. For a shinier look and enhanced protection, we recommend applying a polish to the body.
Step 4: Reassembling the car
Now
thatall the parts have been cleaned and are dry, it's time to put them back on the chassis. Your car is now ready for new adventures.