Radio transmitters have an impressive number of settings, but the most important one is undoubtedly the synchronization of the transmitter and receiver. Generally, RTR models are sold with a radio already connected, however, kit models and even some vehicles RTR require the addition of a transmitter. Learning how to bind your radio to your receiver is therefore an important step in model making in order to have access to more models or to be able to control several vehicles from the same transmitter. In this blog post, we will provide step-by-step instructions on how to perform this procedure.
What does "binding" mean in RC modeling?
Binding is the process of configuring an RC controller so that it can communicate with the RC receiver installed inside your radio-controlled vehicle. This is a procedure you will need to follow before you can drive, whether you have purchased a vehicle without a radio or built it yourself from a kit. As you can see, it is a relatively simple process.
The steps required to link the radio to the 2.4 GHz transmitter
- Remove the bodywork from your car.
- Check that both the transmitter and receiver are turned off.
- Some receivers come with a bind plug. If this is the case, insert the plug into the dedicated bind port.
- Connect the battery to the car.
- With the transmitter still turned off, turn on the car. You should see a flashing light on top of the receiver. This means that the car is ready to be synchronized with the radio.
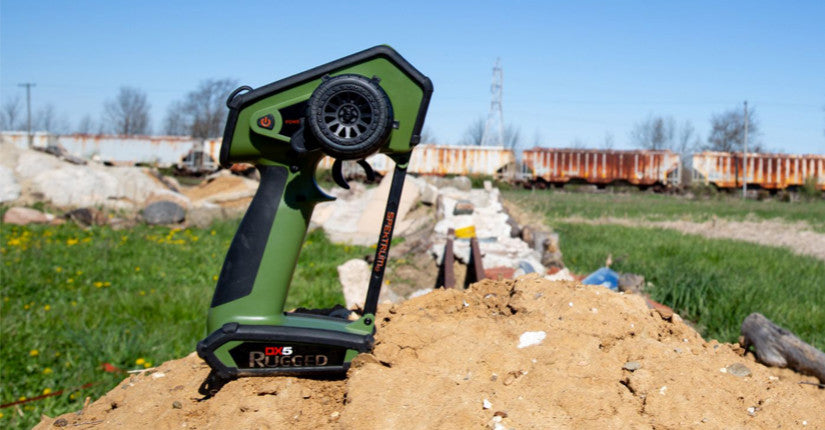
- On your transmitter, hold down the bind button and turn on the transmitter. After a few seconds, release the button.
- The light on top of the receiver should stop flashing and become steady. This indicates that the receiver has been successfully bound to the radio.
Please note: The transmitter and receiver must be of the same brand in order to synchronize.
For transmitters with a screen
The binding procedure for transmitters with a screen (such as the DX5C) is very similar. All you need to do is follow steps one through five as outlined above. Once you have reached step five and the car is turned on, follow the instructions below:
- Turn on your transmitter and go to the "Bind" menu.
- Using the scroll bar on your transmitter, click the "Bind" button.
- After a few seconds, the transmitter will connect to the car.
We hope this blog post will help you bind your remote control car transmitter. For some brands, the binding process may be slightly different, so please read the manual for help.